Controller Button Not Working? How to Diagnose Dead Buttons
A button that only works sometimes — or not at all — ruins games. Before you open the controller or buy a replacement, run through this diagnostic process to find out whether the button is truly dead and what is causing it.
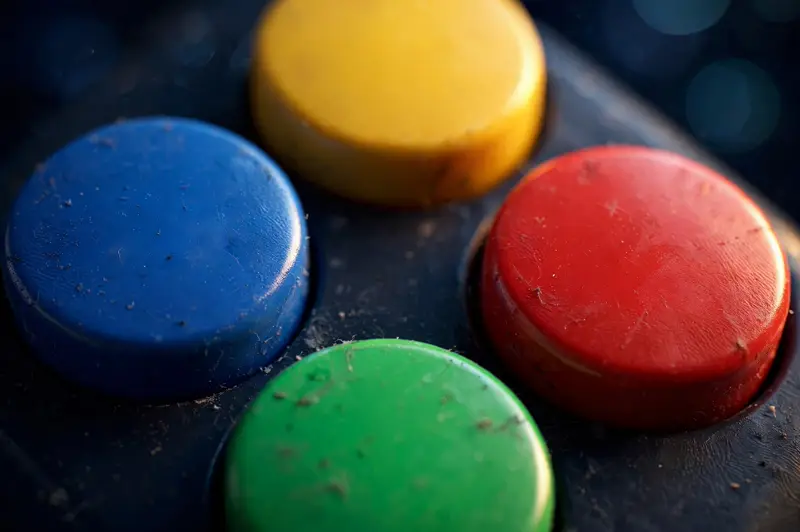
Step 1: Test the button in isolation
Open our free gamepad tester, connect your controller, and press the suspect button firmly several times while watching its tile:
- Tile lights up every time, value reaches 1.00: the button hardware is fine — the problem is in a specific game or app (check its control settings).
- Tile flickers or shows low values (0.2–0.6) on full press: the contact is dirty or worn. Cleaning may fix it.
- Tile never lights up at all: the button is not registering. Continue below.
This isolates hardware from software in seconds — the most important step in the whole process.
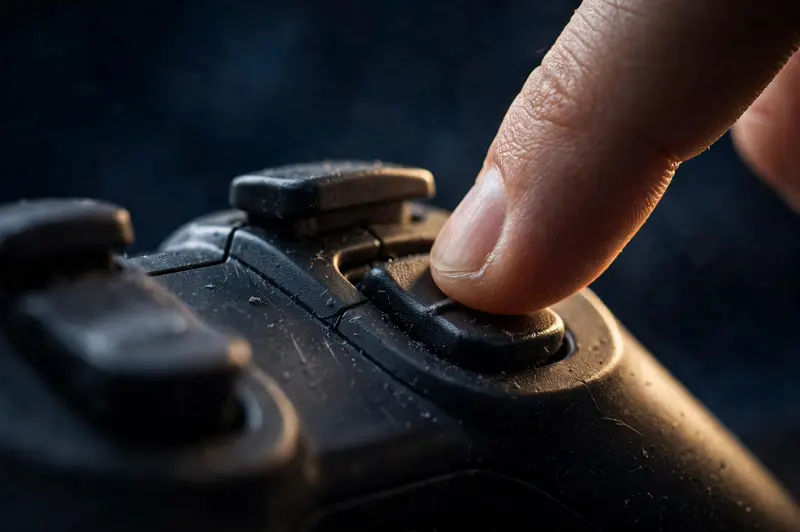
Step 2: Rule out connection issues
A surprising number of "dead buttons" are connection problems:
- Try a different USB cable and port — damaged cables cause intermittent inputs.
- If on Bluetooth, re-pair the controller or switch to USB to compare.
- Close Steam and other games — some apps grab the controller exclusively and swallow inputs.
- Test in a different browser (Chrome vs Edge) to rule out a browser quirk.
Re-test the button after each change.
Step 3: Clean around the button
Dust, crumbs, and dried spills are the usual suspects for sticky or unresponsive buttons:
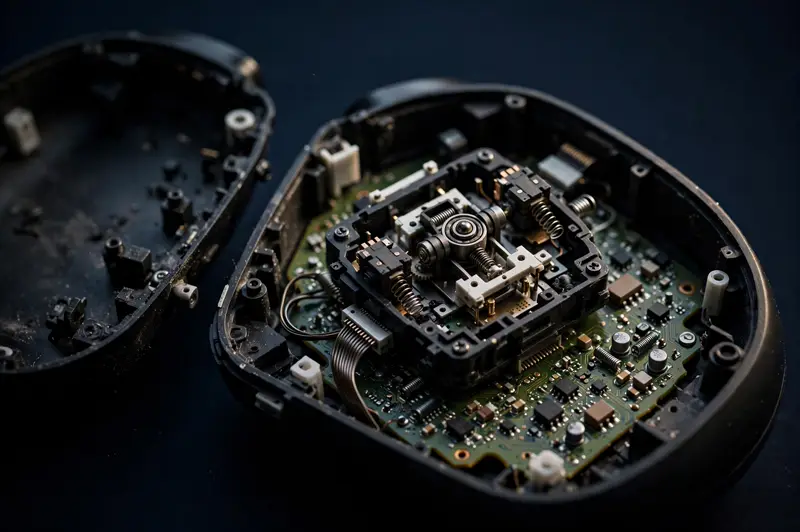
- Turn the controller off and unplug it.
- Press the button repeatedly to work loose debris.
- Clean around its edges with a cotton swab lightly dampened with isopropyl alcohol.
- For face buttons, you can sometimes lift the cap slightly and blow compressed air underneath.
- Let everything dry completely before reconnecting, then re-test.
If the tile now reaches 1.00 consistently, you have fixed it.
Step 4: Check for physical damage
Press the button slowly and feel for what is wrong:
- Mushy with no click: the rubber membrane underneath may be torn or misaligned.
- Stuck down: debris wedged under the cap, or a swollen battery pressing from inside (stop using it if the controller is bulging — that is a battery safety issue).
- Clicks but never registers: the contact pad on the circuit board is likely worn or corroded.
Membrane and contact issues require opening the controller. Replacement membranes are cheap, and many repair guides exist — but opening the controller usually voids the warranty.
Step 5: Warranty, repair, or replace
- Under warranty? Contact the manufacturer first — do not open it.
- Out of warranty and handy? A membrane swap or contact cleaning is a 30-minute job with basic tools.
- Multiple buttons failing? The controller is likely at the end of its life. Test any replacement on our gamepad tester before the return window closes.