Never pay for a used controller without testing it first. This 10-point checklist takes about five minutes with our free gamepad tester and catches the defects sellers hope you won't notice: stick drift, worn buttons, weak triggers, dead rumble motors, and failing batteries. Bring a phone or laptop, run every test below, and walk away from anything that fails the red-flag items.
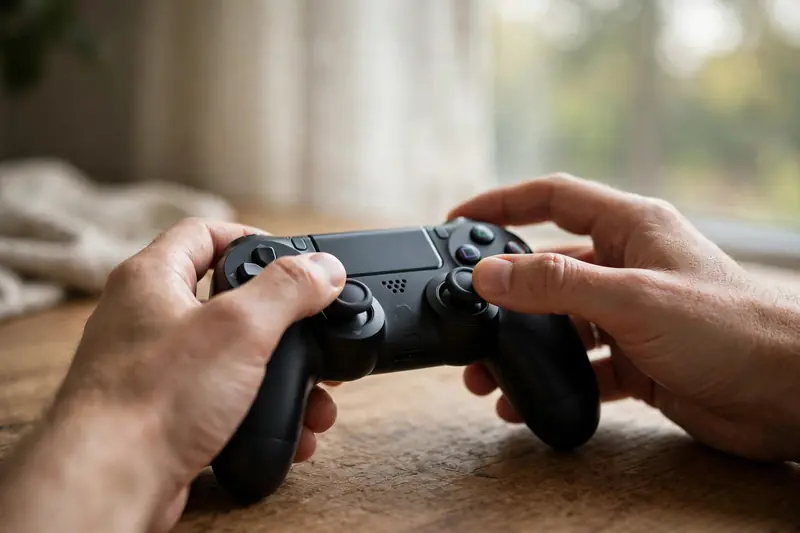
The 10-point inspection
Connect the controller, open the tester in your browser, and press any button so it registers. Work through each test in order — they progress from the most expensive defects to the cosmetic ones.
What to bring: your phone with our tester bookmarked, a USB cable that you know works (don't trust the seller's), and for Bluetooth testing, a phone with Bluetooth enabled and the controller unpaired from the seller's devices. Ask the seller to fully charge the controller before you arrive — a dead battery hides a multitude of sins.
1. Stick drift test
Leave both sticks completely untouched and watch the axis readouts for 30 seconds. Healthy sticks rest between -0.05 and +0.05 on every axis. Run the dedicated stick drift test and slowly rotate each stick through full circles — values should move smoothly with no jumps or sticky spots.
Pass: all axes rest within ±0.05 and return there after movement. Walk away: any axis resting beyond ±0.15 — that stick's potentiometer is worn.
2. Deadzone check
With the sticks at rest, nudge each one very slightly and note when the on-screen value starts moving. This tells you how much usable range the stick has lost to wear and deadzone compensation.
Pass: response begins with minimal tilt and feels linear. Walk away: a large "dead" area before response starts, or values that jump instead of ramping smoothly.
3. Face buttons (A/B/X/Y or shapes)
Press each face button 10 times, firmly and quickly. Watch the button tiles light up on every press and reach 1.00. If a button registers intermittently, run our dead button diagnosis to confirm.
Pass: 10/10 clean registrations at full value. Walk away: any button that misses presses or needs extra force.
4. Trigger travel (LT/RT)
Pull each trigger slowly from rest to full press. Analog triggers should sweep smoothly from 0.00 to 1.00. Sticky or grinding triggers are one of the most common used-controller defects.
Pass: smooth 0.00→1.00 sweep on both triggers, springs back crisply. Walk away: triggers that stick, grind, or max out below 0.90.
5. Bumpers (LB/RB)
Bumpers take heavy abuse in shooters and action games. Press each 10 times, including presses near the outer edge where the plastic flexes most.
Pass: consistent click and registration, including edge presses. Walk away: mushy feel, double-registering, or dead spots at the edges.
6. D-pad diagonals
Roll your thumb around the D-pad, hitting all four directions and the four diagonals. Fighting-game players wear diagonals first; a D-pad that drops diagonal inputs is useless for them.
Pass: all 8 directions register cleanly. Walk away: diagonals that drop or require rocking the thumb.
7. Vibration motors
Hit the tester's vibration button. You should feel both the strong and weak rumble motors distinctly. Then test each motor if the tool separates them.
Pass: both motors fire, no rattling or grinding sounds. Walk away: a motor that doesn't fire or sounds like gravel — replacement requires a full teardown.
8. Bluetooth pairing and stability
Unpair, then re-pair the controller over Bluetooth. Play with it for two minutes watching for input freezes or disconnects — failing radios show up as momentary dead inputs, not just full dropouts.
Pass: pairs in under 30 seconds, zero dropouts in two minutes. Walk away: repeated pairing failures or mid-test disconnects.
9. Battery and charging
Check the reported battery level, plug in the charger, and confirm the charging indicator activates. Ask the seller how long a charge lasts — then discount their answer by half.
Pass: charges normally, holds a reasonable charge. Walk away: a controller that only works plugged in (dead battery) unless priced accordingly.
10. Physical wear inspection
Look at stick rubber (bald spots mean heavy use), check for cracked shell seams, test that all screws are present, and smell for smoke damage. Shine a light into the stick wells — heavy dust predicts early drift.
Pass: honest wear consistent with the asking price. Walk away: cracked boards visible through seams, stripped screws (someone's been inside), or sticky residue.
Red flags — walk away immediately

- Stick drift beyond ±0.15 on any axis — the most expensive common defect.
- Buttons that miss presses — membrane or contact damage, teardown required.
- Intermittent disconnects — radio or board-level fault, not fixable by cleaning.
- Evidence of a previous repair (stripped screws, mismatched shell) — you inherit someone else's problems.
- Seller won't let you test — the single biggest red flag of all.

Frequently asked questions
How much should I pay for a used controller?
A controller passing all 10 tests is worth roughly 50–70% of retail depending on age and model. Deduct for every failed non-critical item — a dead rumble motor or weak battery should knock at least 20% off, since you inherit the repair.
Is stick drift a dealbreaker on a used controller?
Yes, unless the price reflects a stick replacement. Drift means worn potentiometers; cleaning rarely fixes established wear. Either negotiate the cost of a repair off the price or keep looking.
Can I test a controller without bringing a laptop?
Yes — our tester runs in any modern mobile browser. Bring your phone, a USB-OTG adapter for wired testing, and use the Bluetooth pairing test on the spot. Five minutes is all it takes.
What about refurbished controllers from stores?
Store refurbs usually include a short warranty, which changes the math — run the same checklist, but minor issues are acceptable if you can return it. Test within the return window regardless.